Deploying the agent using Datto RMM
This article explains how to deploy the Kaseya MDR agent to endpoints using Datto RMM.
Datto RMM is a supported deployment method and can be used to install the agent on new endpoints or expand coverage across customer environments managed through Datto RMM.
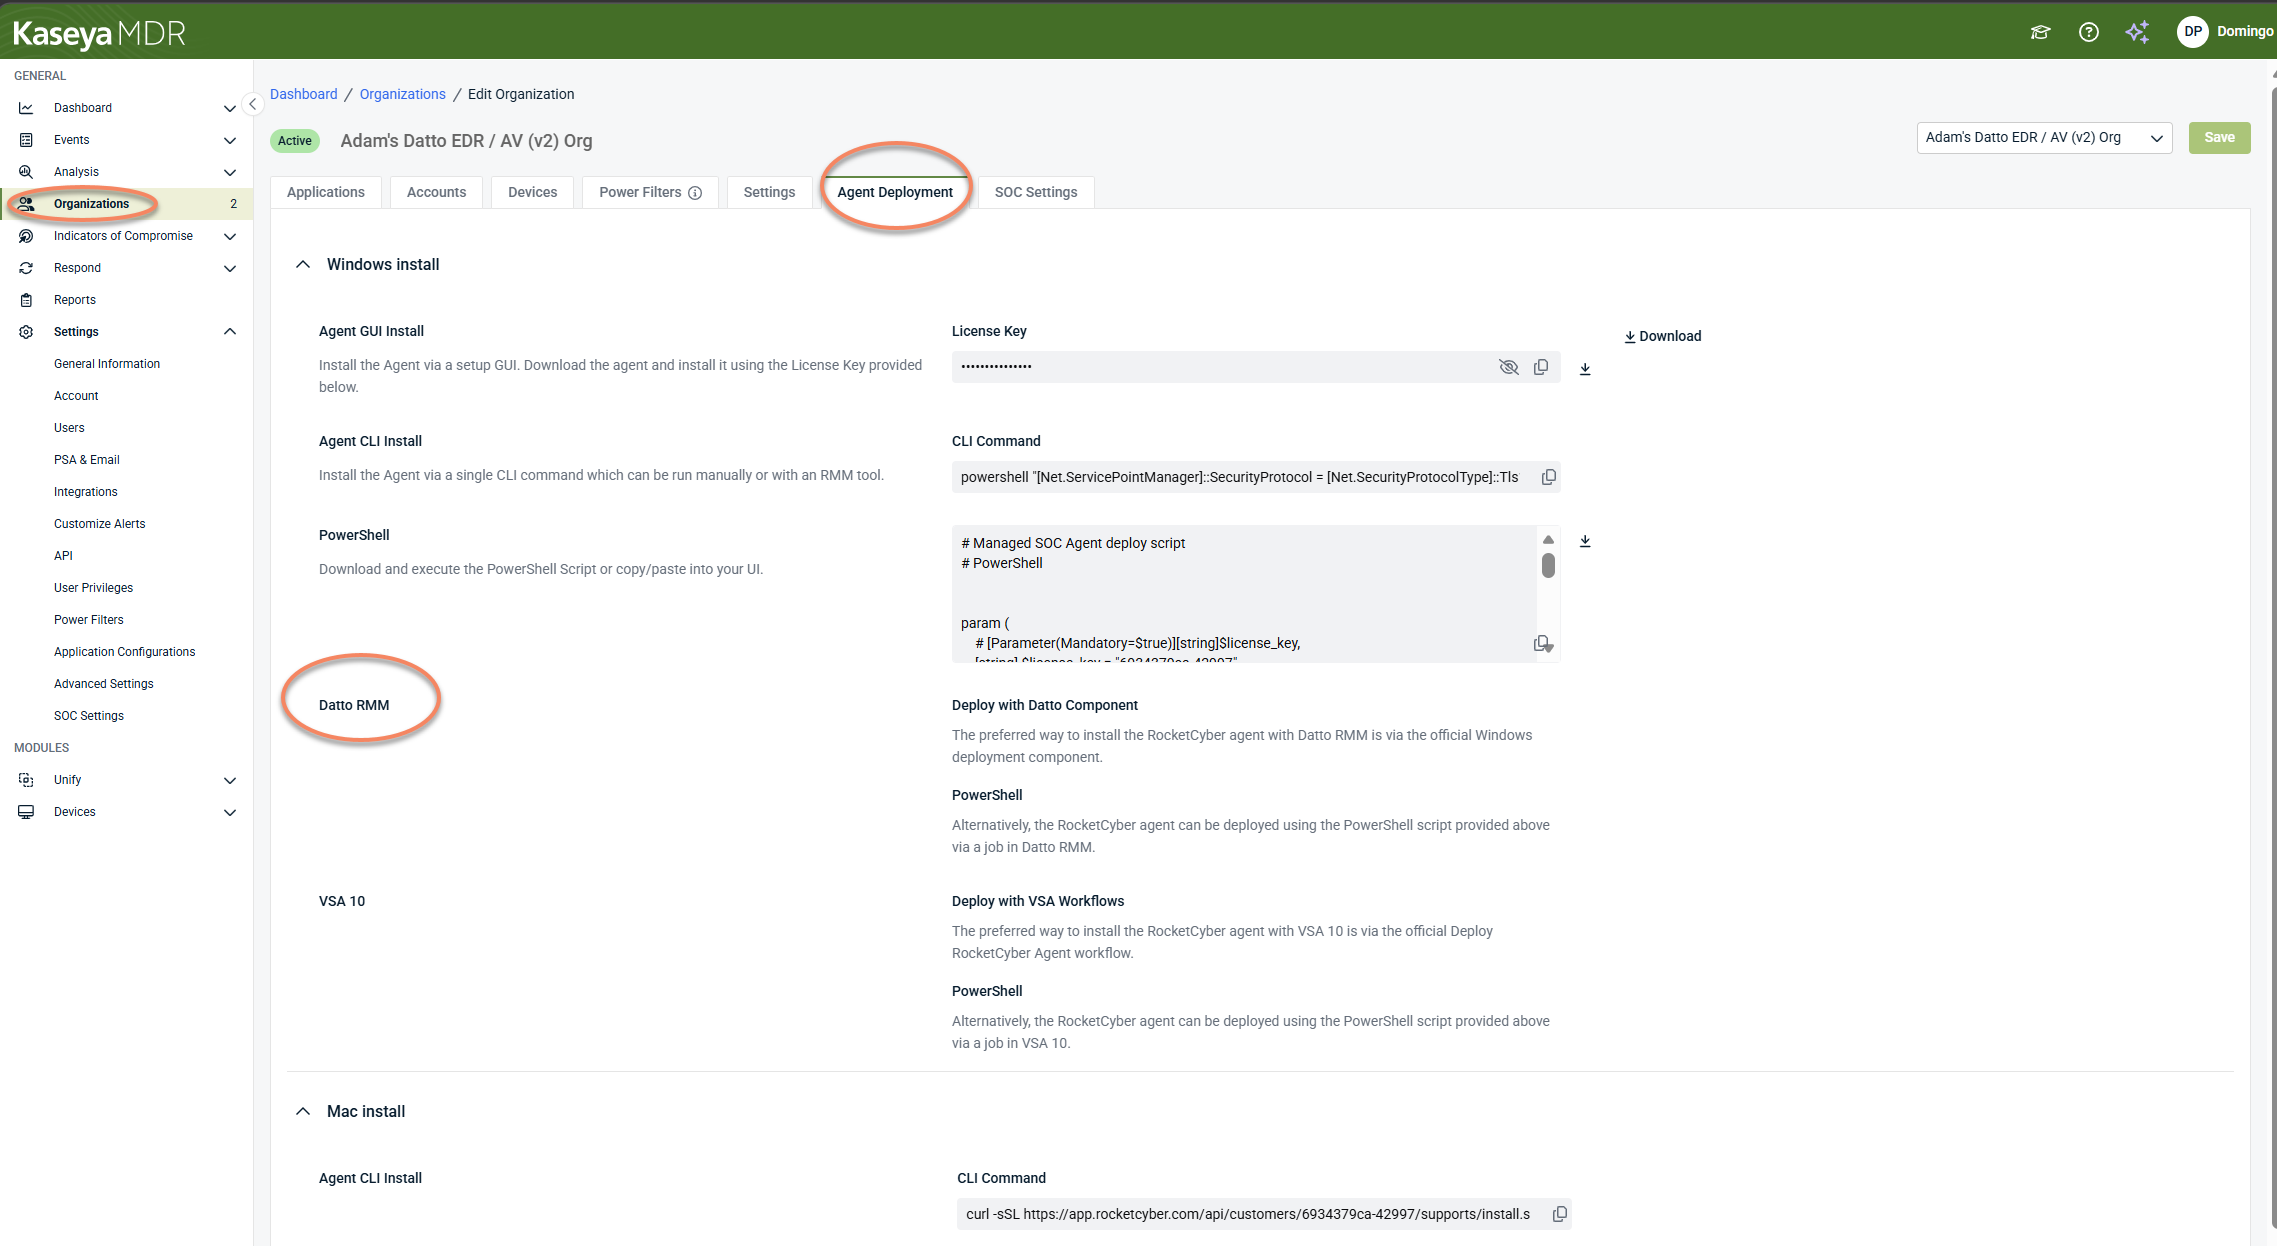
In Kaseya MDR, go to Organizations > Edit Organization > Agent Deployment. In this tab, you can access the Datto RMM–specific installer scripts and commands used to deploy the agent through Datto RMM.
Before you begin
Before deploying the agent using Datto RMM, ensure the following:
-
You have administrative access to Datto RMM.
-
Target endpoints meet the supported operating system requirements.
-
Target endpoints do not already have the agent installed.
Coming from RocketCyber or existing MDR deployments
If you previously or currently use RocketCyber or Kaseya MDR:
-
Existing agents can be reused.
-
Agents do not need to be redeployed to enable Kaseya MDR.
-
Datto RMM deployment is required only for endpoints that do not already have an agent.
How Datto RMM-based deployment works
Kaseya MDR supports two Datto RMM deployment options, as shown in the MDR interface:
-
Deploy with Datto Component (preferred)
-
PowerShell (alternative)
These options use different deployment methods but install the same agent.
Deploy with Datto Component (Datto RMM-supported deployment)
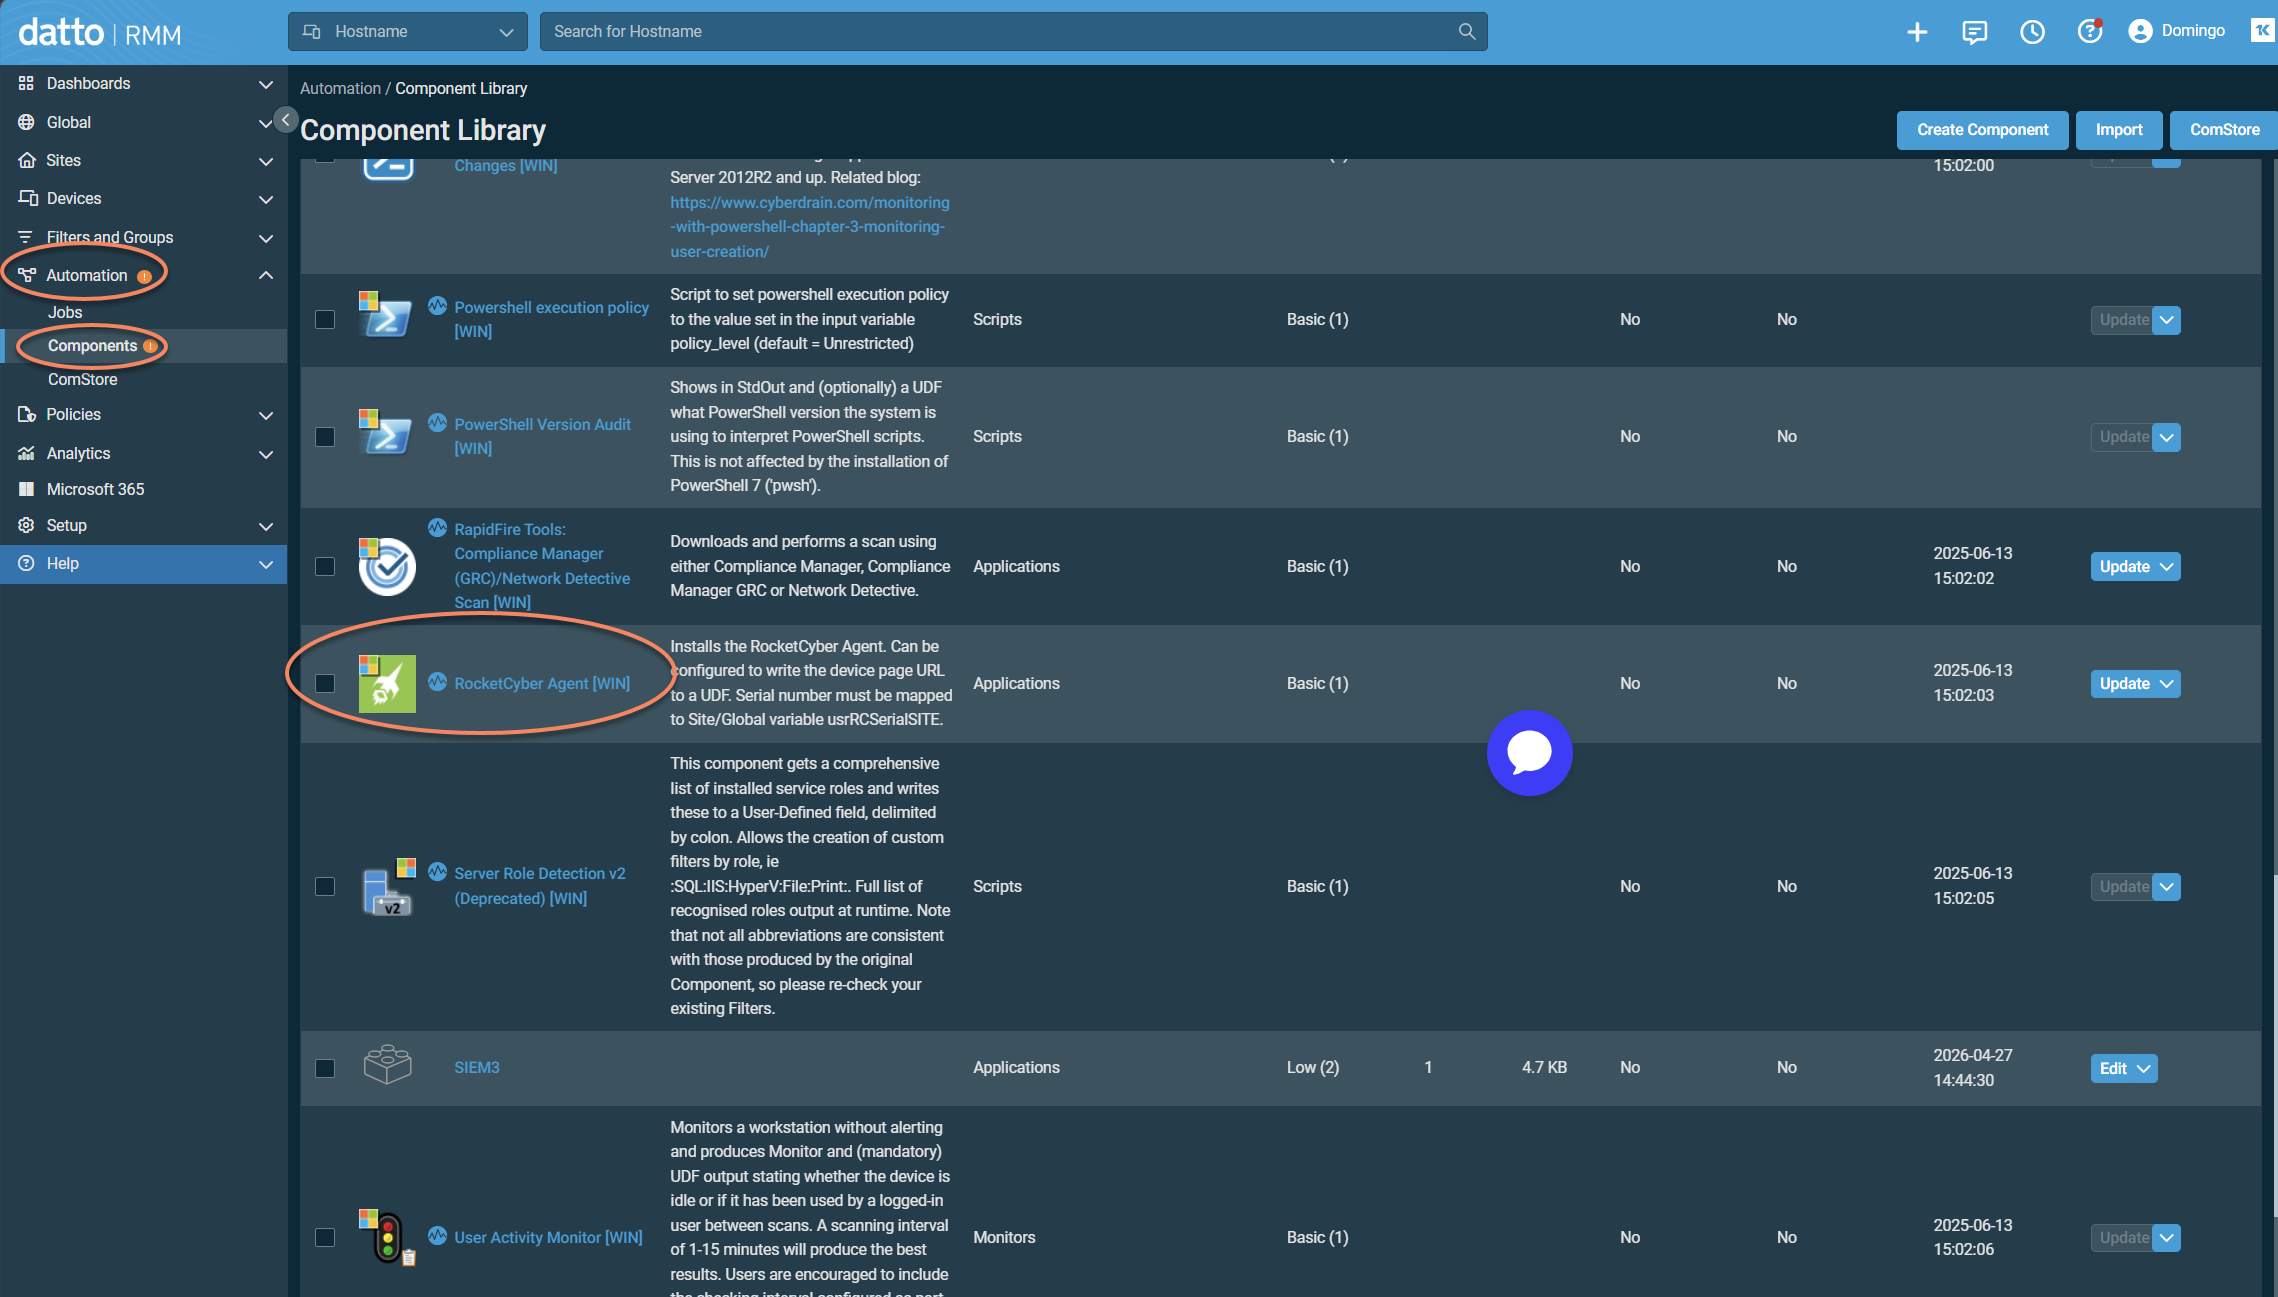
The Deploy with Datto Component option refers to the prebuilt RocketCyber Agent [WIN] component available in Datto RMM. This is the same Windows deployment component historically used by RocketCyber for Datto RMM-based installations.
-
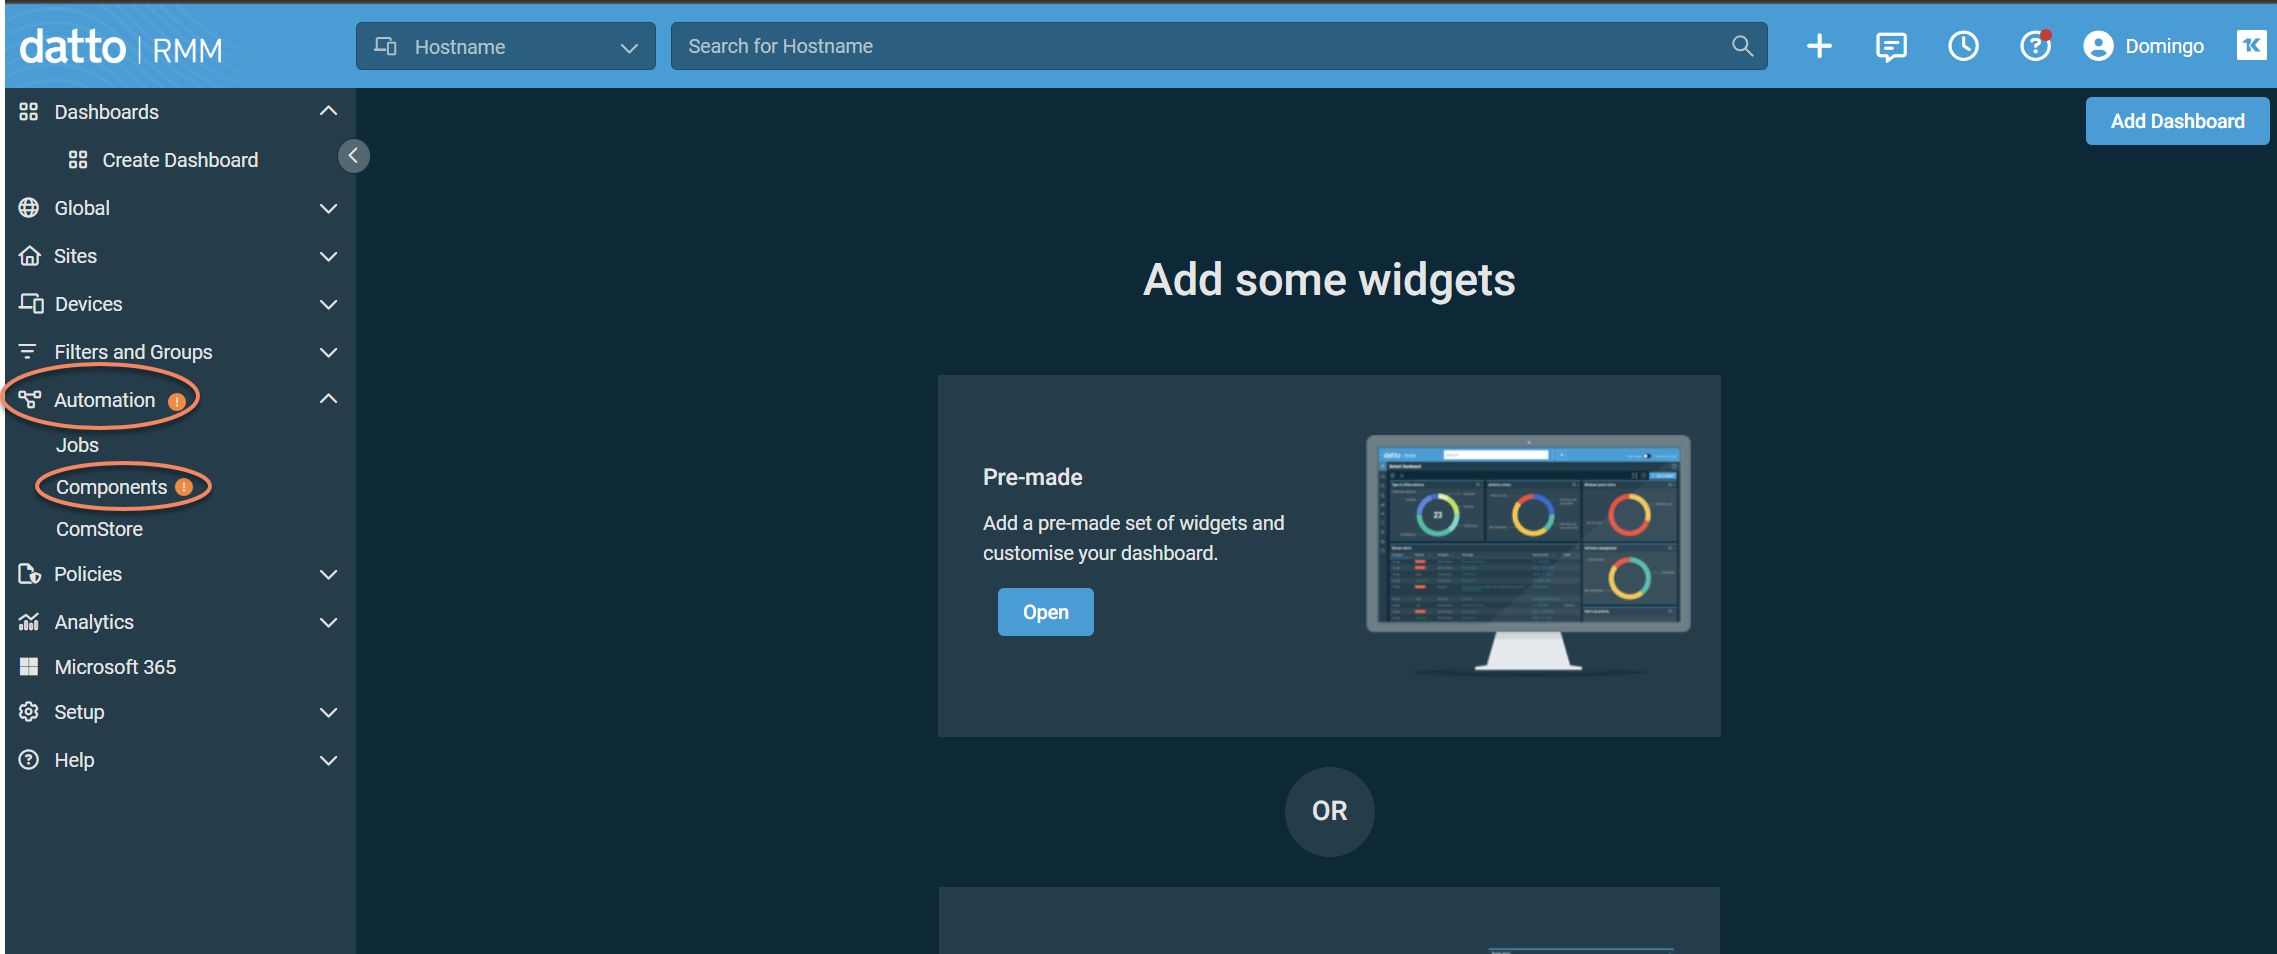
In Datto RMM, go to Automation > Components and locate RocketCyber Agent [WIN] in the Component Library. This component installs and registers the agent on the target endpoint.
-
Select the component, then click Create a Job.
-
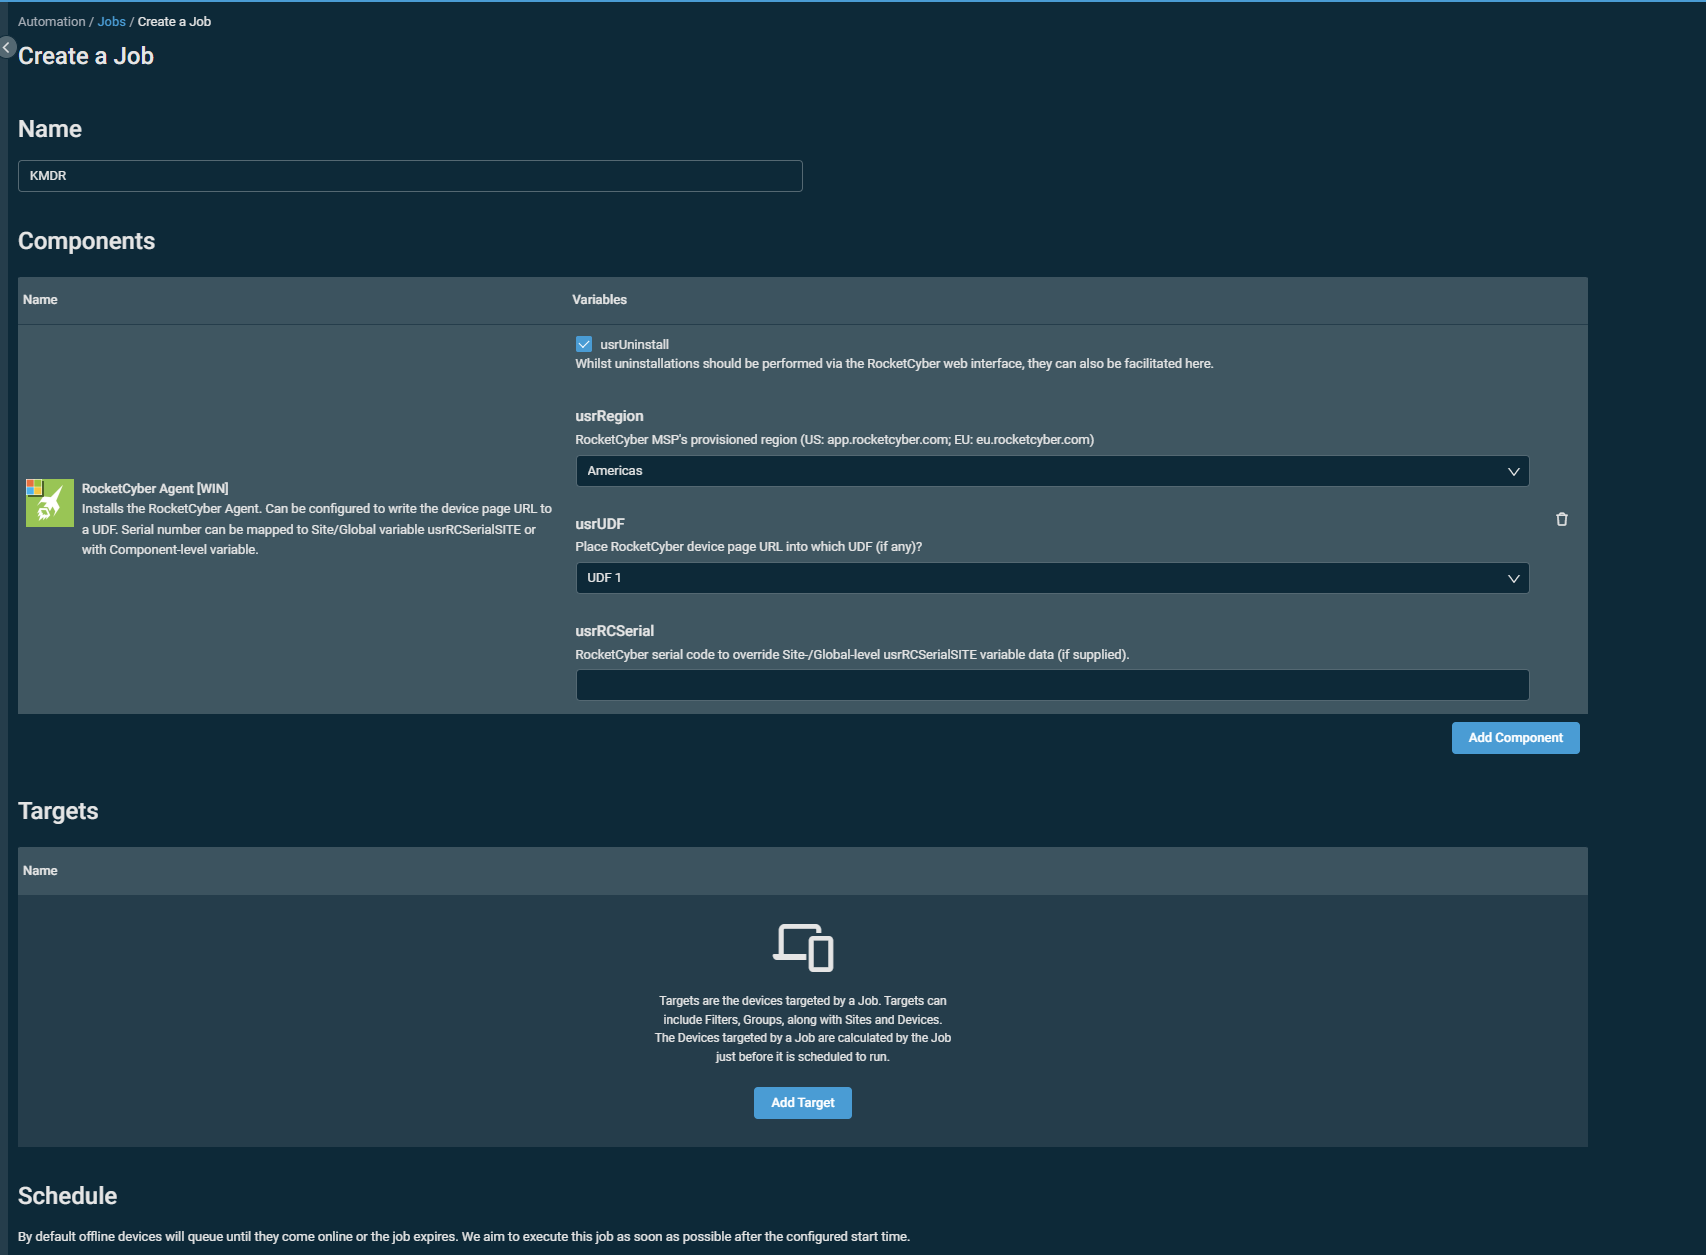
In the Create Job page:
-
Enter a name for the job
-
In the Components section, confirm RocketCyber Agent [WIN] is included
-
In the Targets section, select the endpoints where the agent should be installed
-
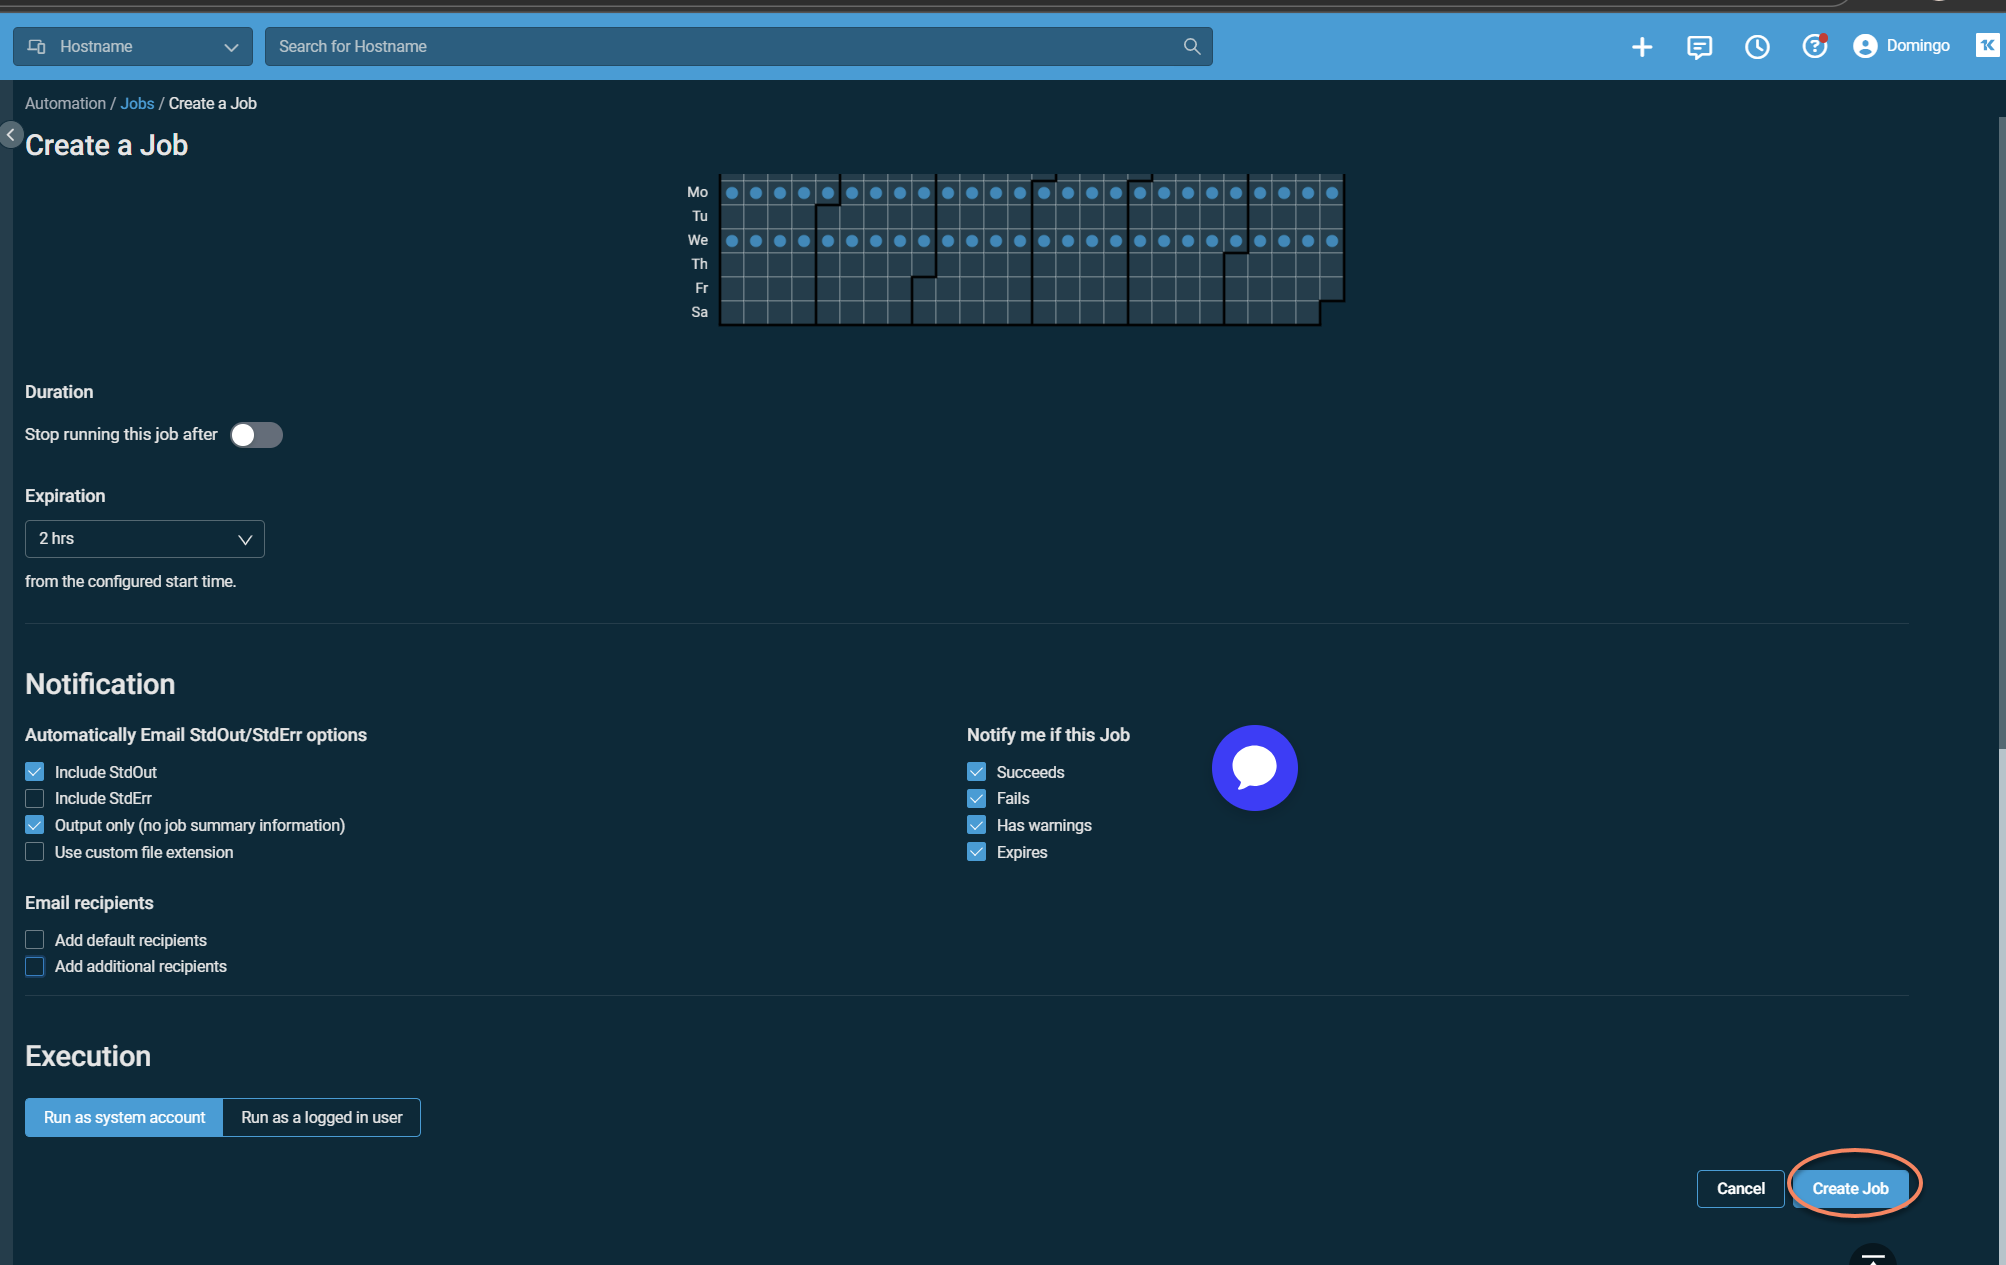
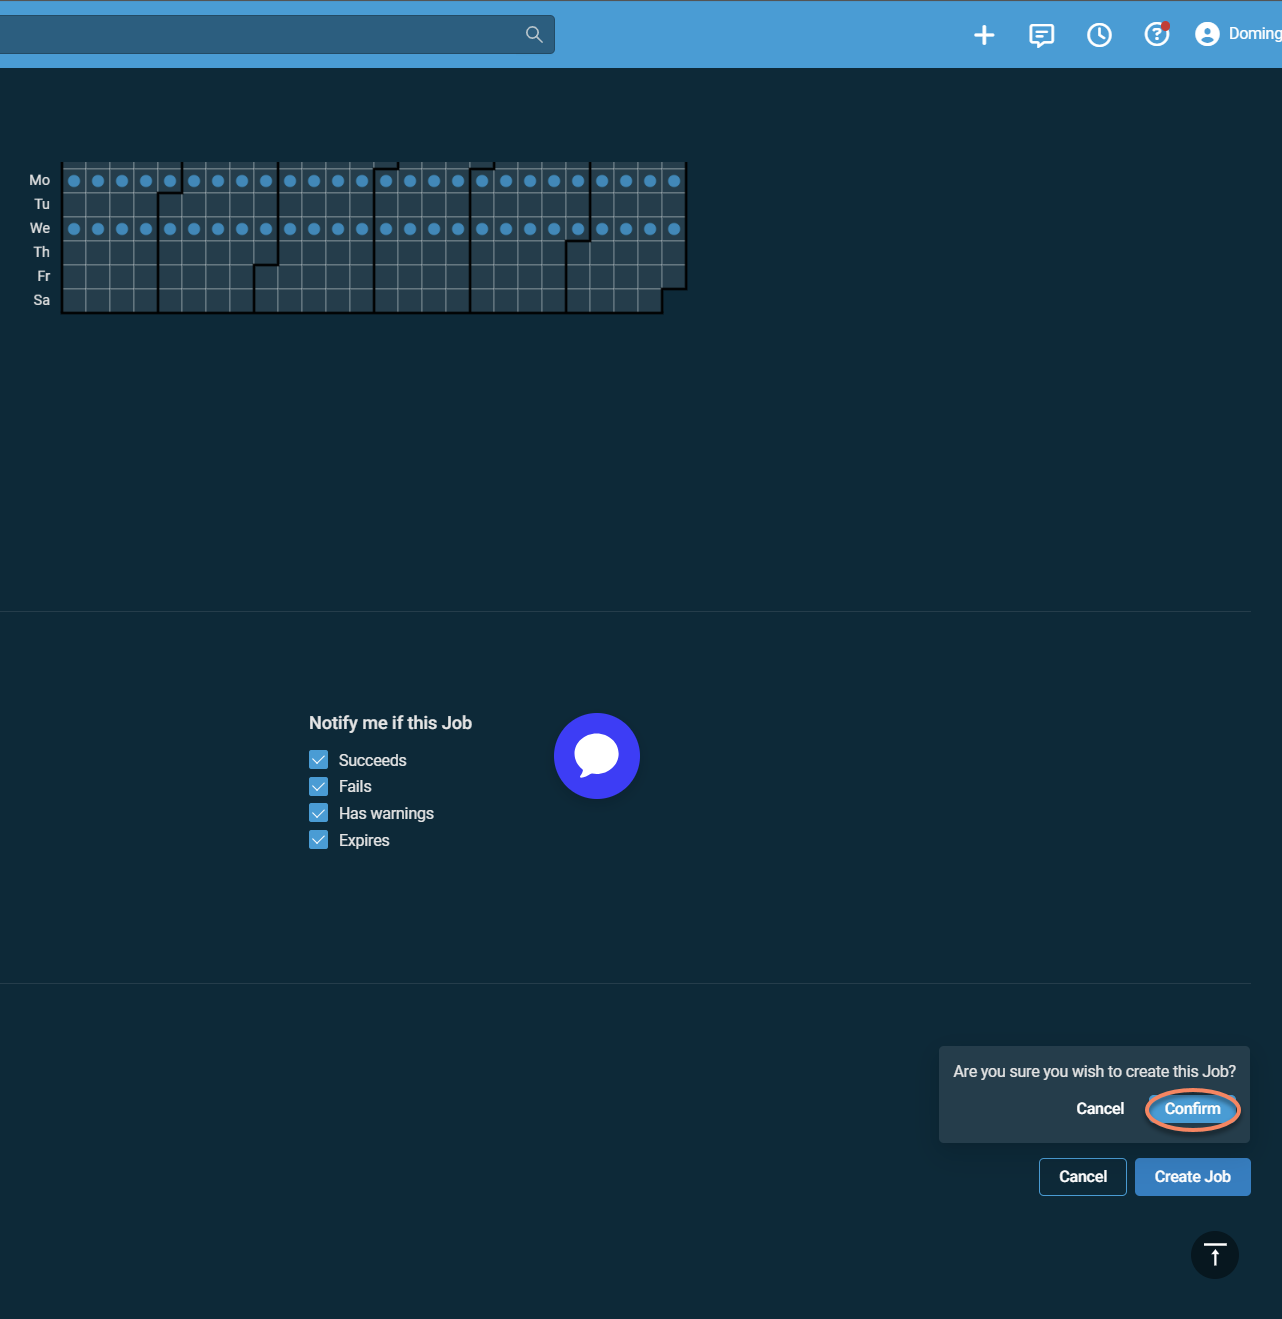
In the Schedule section, configure when the Job should run
-
-
Select Create Job and confirm execution to deploy the agent.
When using this method:
-
The RocketCyber Agent [WIN] component is executed on target endpoints through a Datto RMM Job
-
Deployment is managed within Datto RMM
-
No custom scripts are required
This option is preferred because it uses Datto‑maintained deployment logic rather than customer‑managed scripting.
If the agent does not register after deployment, ensure any required site variables for the RocketCyber Agent [WIN] component (such as usrRCSerialSITE) are configured in Datto RMM.
PowerShell (alternative)
The PowerShell option deploys the agent using a PowerShell installer payload generated by Kaseya MDR and executed through a Datto RMM Job.
This method is provided for environments that prefer or require script‑based automation.
When using the PowerShell option:
-
Kaseya MDR provides a PowerShell installer script.
-
The script must be executed through Datto RMM automation.
-
Script execution is customer‑managed.
Using the PowerShell deployment option
Obtain the installer payload from MDR
-
In Kaseya MDR, go to Organizations > Edit Organization > Agent Deployment.
-
Locate the Datto RMM option.
-
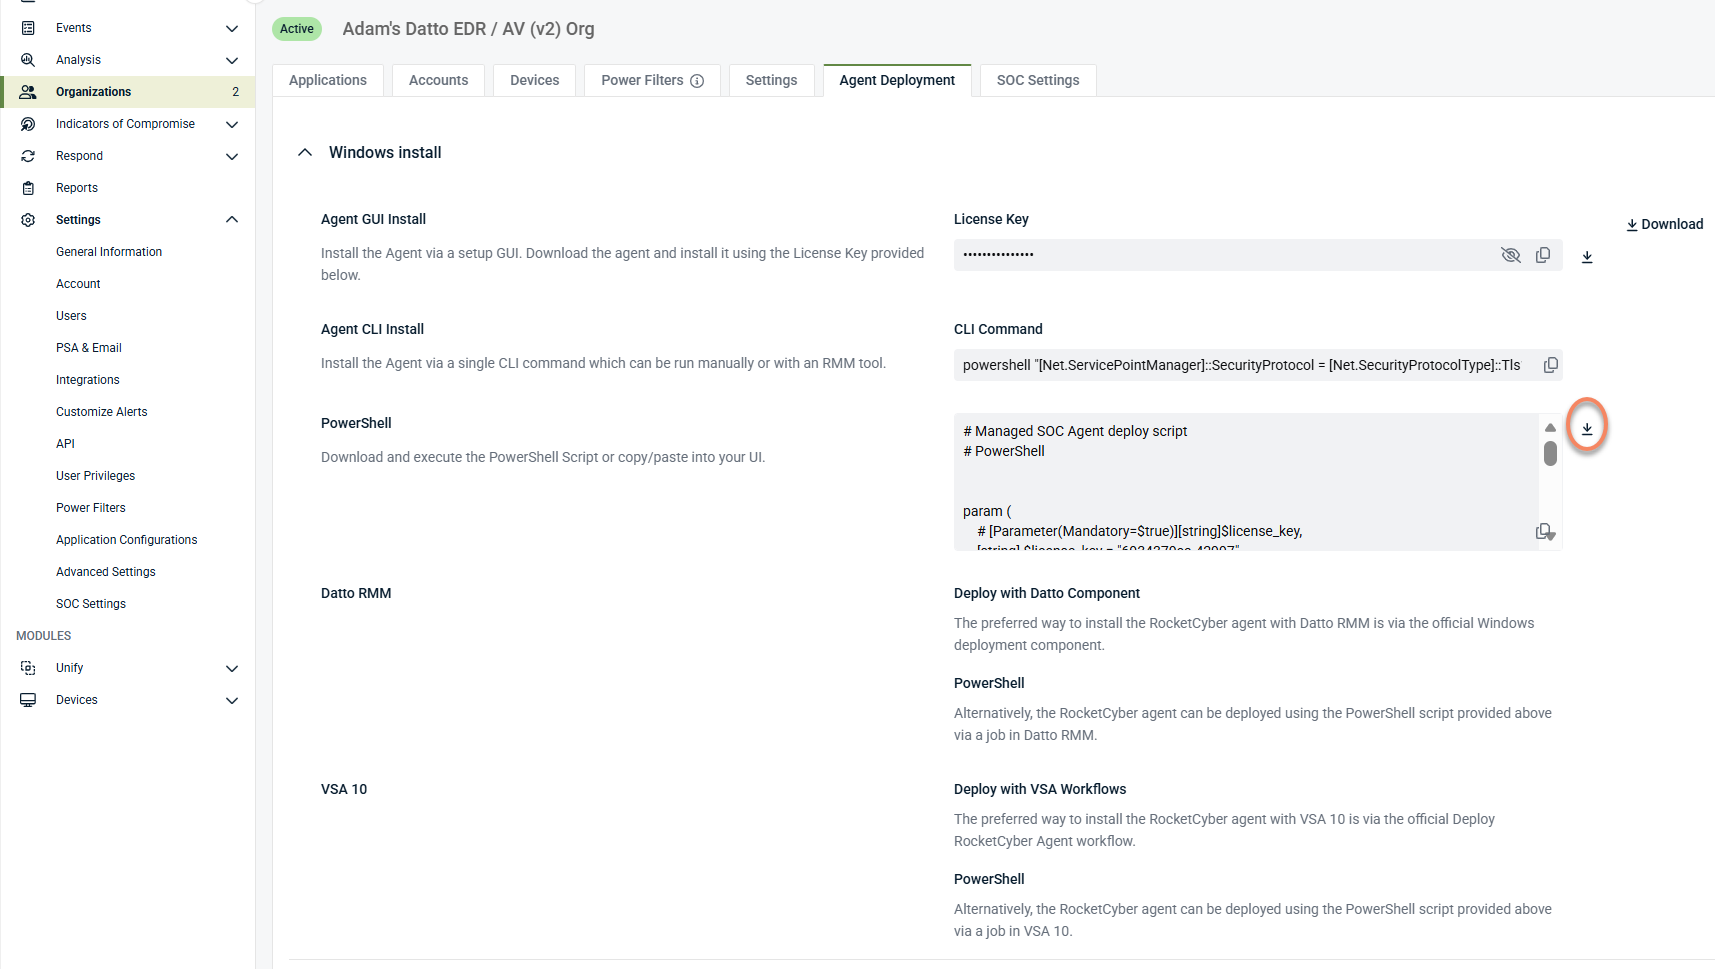
In the Datto RMM section, locate the PowerShell installer.
-
Choose one of the following:
-
Select the option to download the installer and save it as a .ps1 file.
-
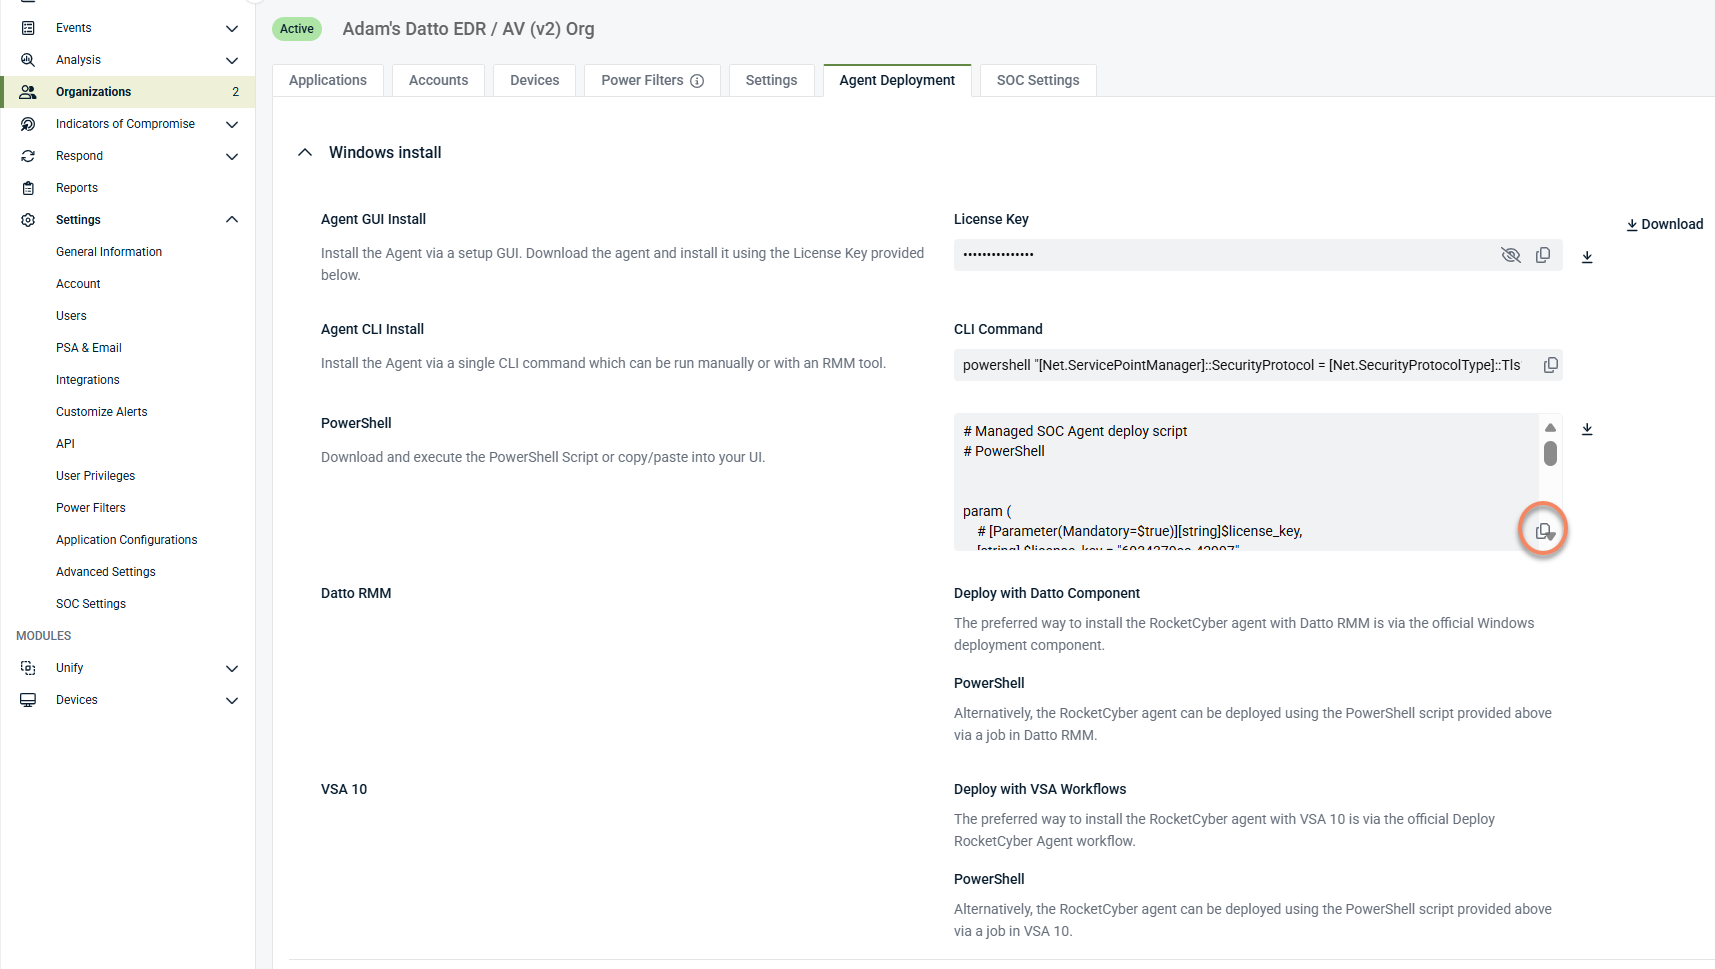
Select the option to copy the installer script to your clipboard.
-
Both options provide the same installer payload.
Execute the PowerShell installer in Datto RMM
Step 1: Create a PowerShell component
-
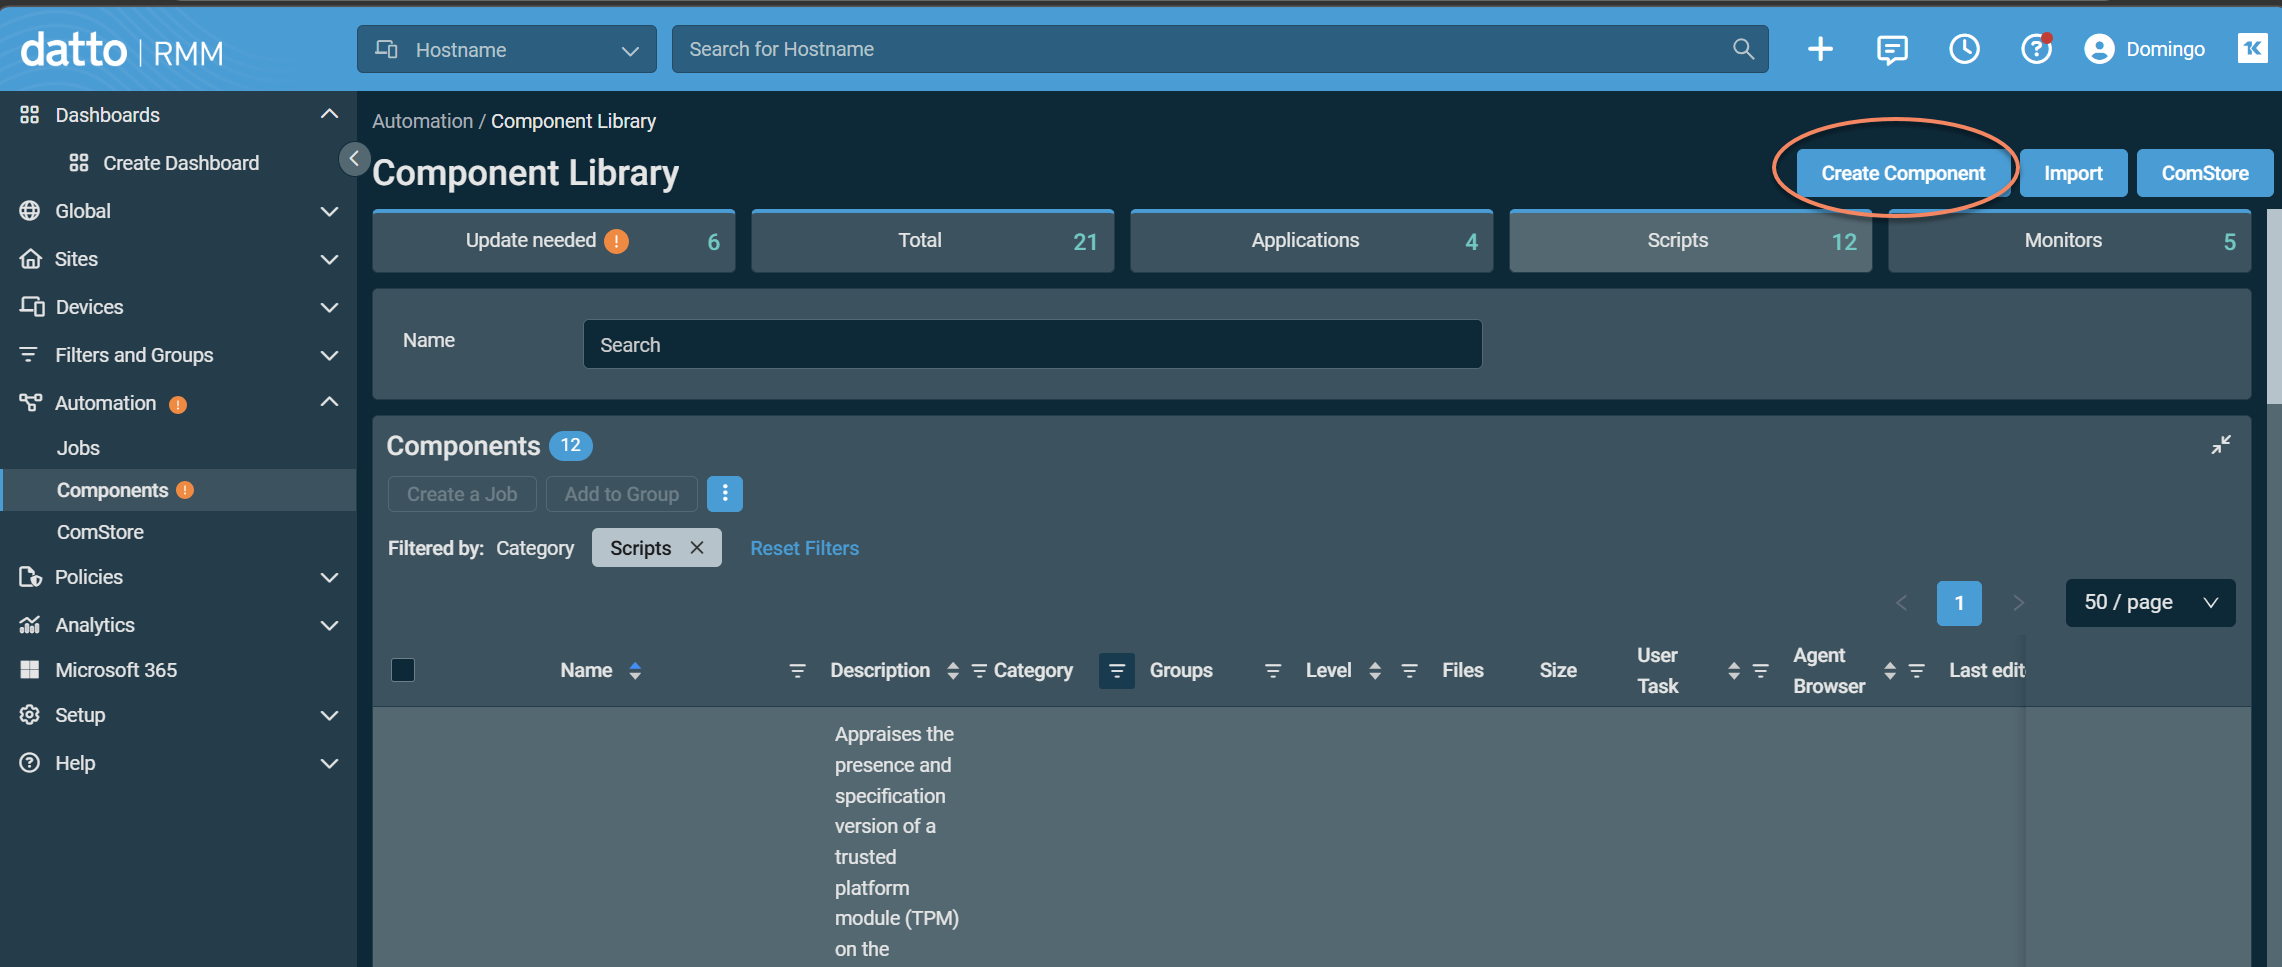
In Datto RMM, go to Automation > Components.
-
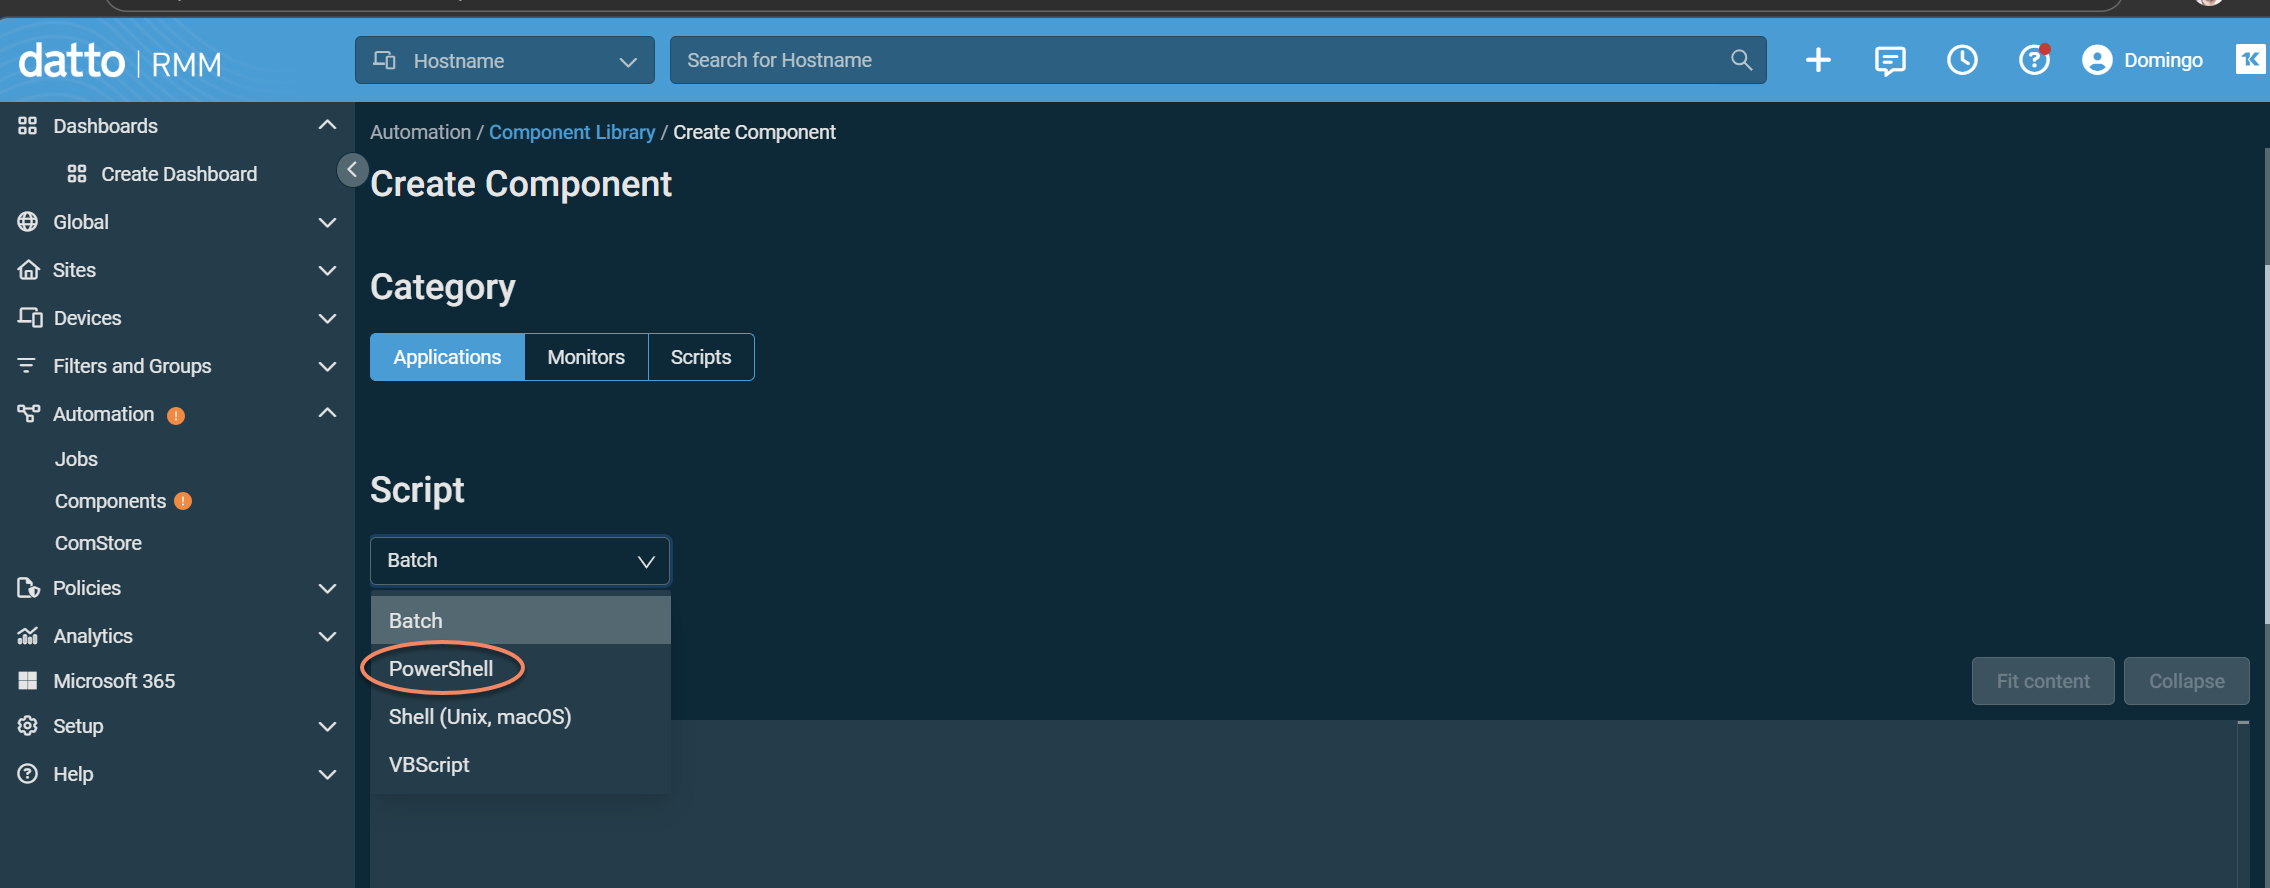
Select Create Component.
-
Enter a name for the component, select the appropriate category, and choose PowerShell from the Script drop-down menu.
-
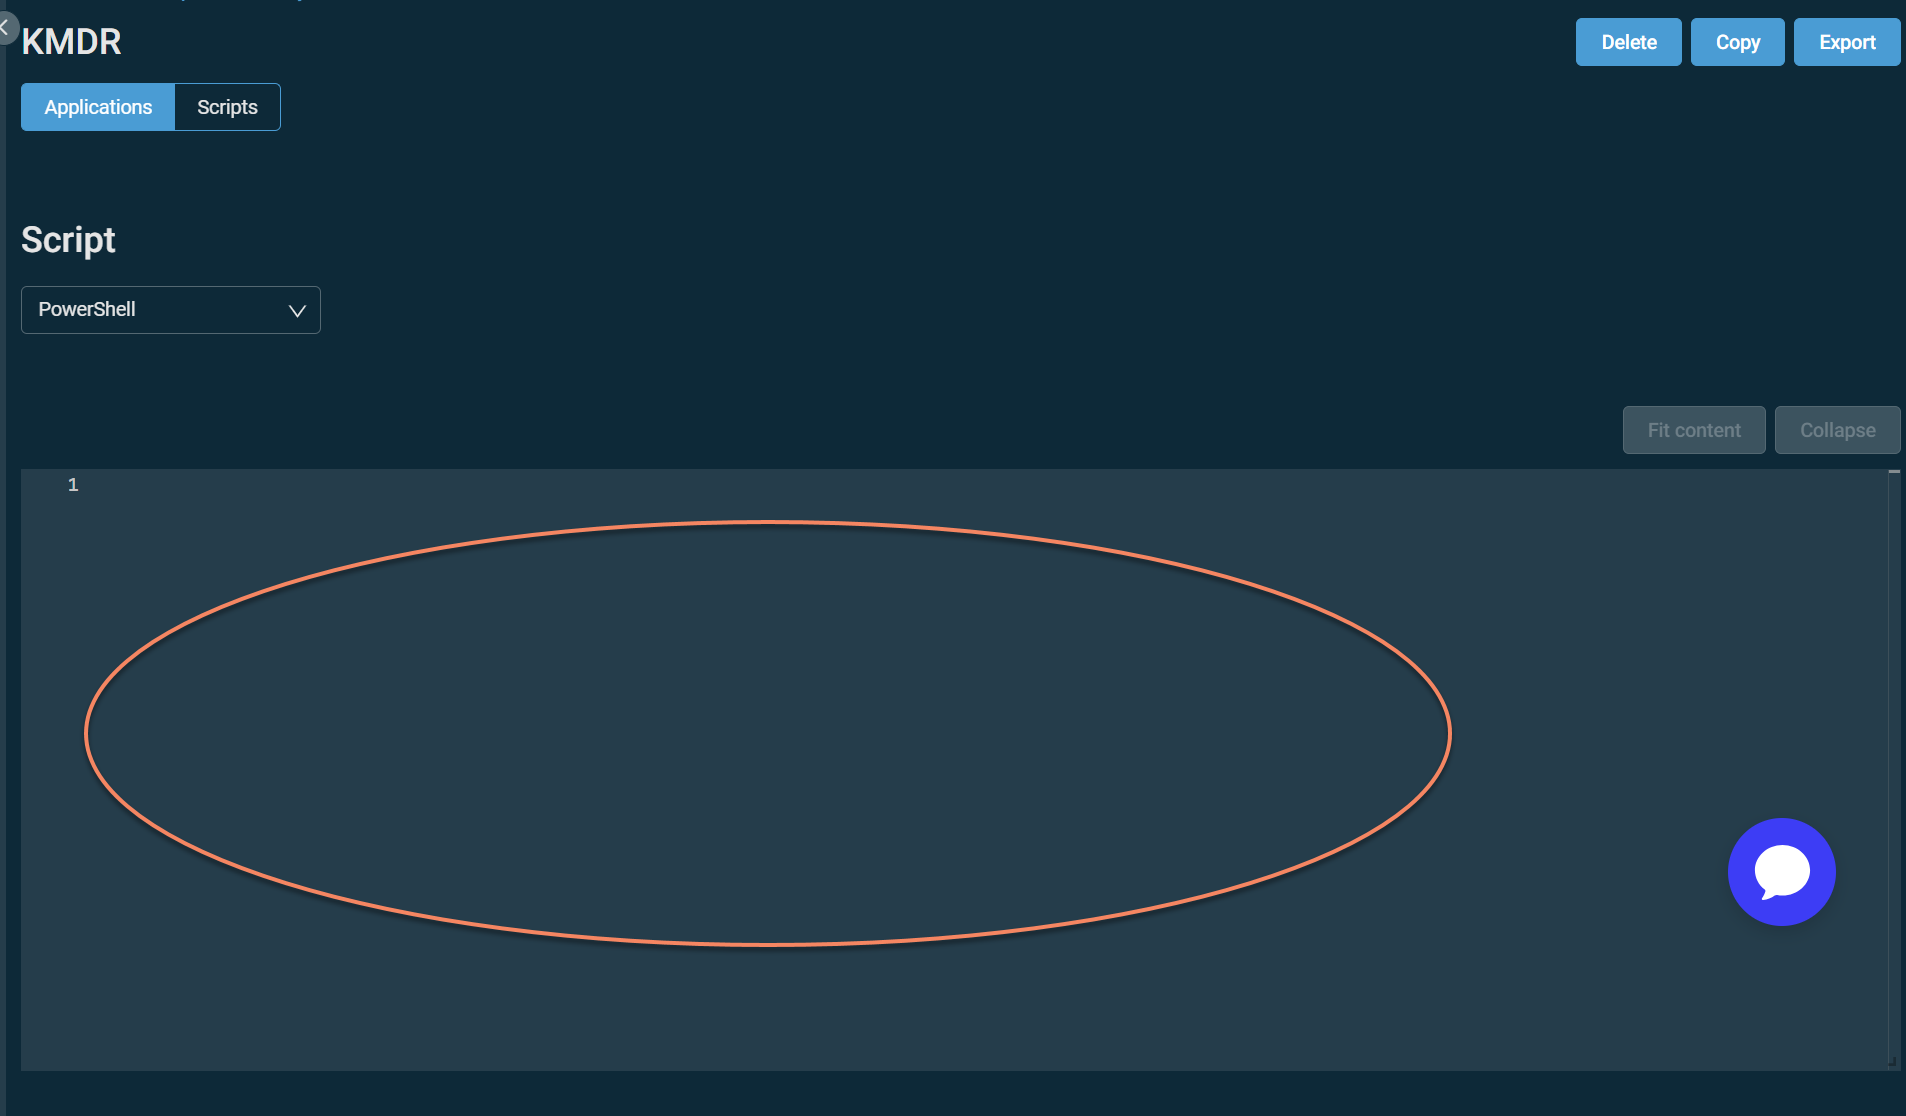
Provide the installer payload:
-
If you copied the installer, paste the full script into the component editor.
-
If you downloaded the installer, open the .ps1 file and paste its full contents into the component editor.
 5.
5.
-
-
In the Sites section, select All Sites or assign at least one site.
-
Scroll down and click Create Component.

Step 2: Create and run a Datto RMM Job
-
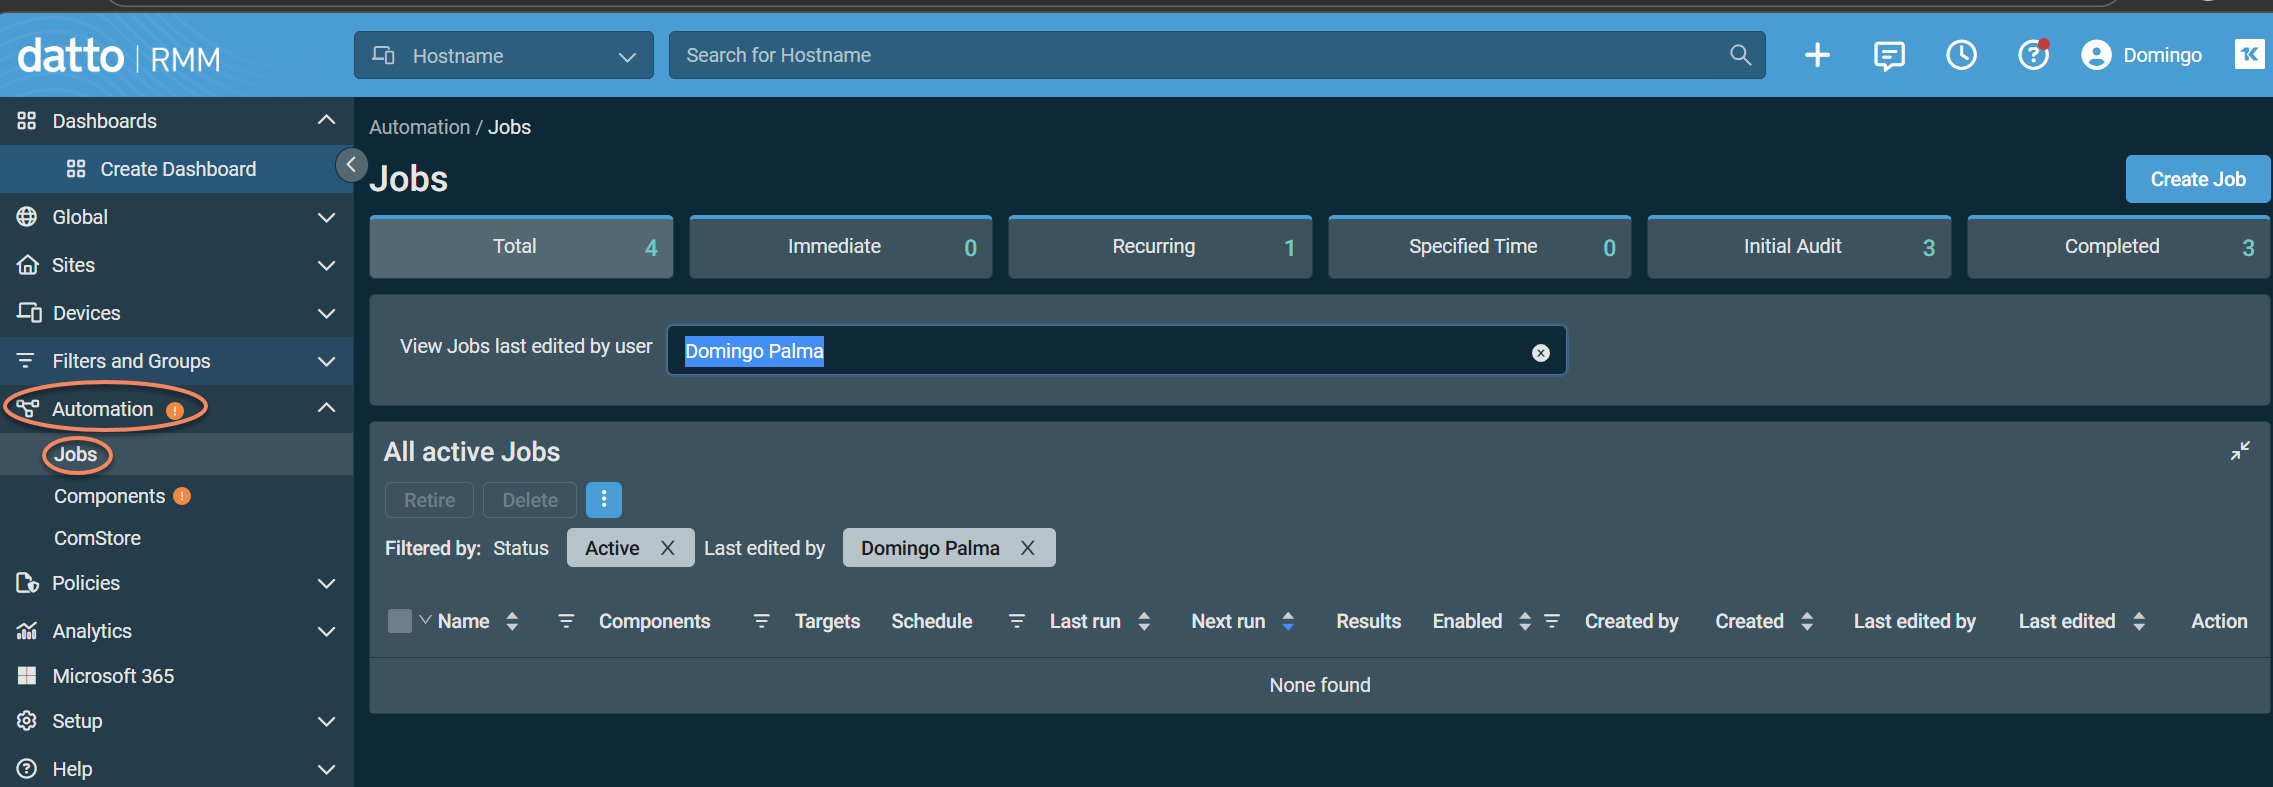
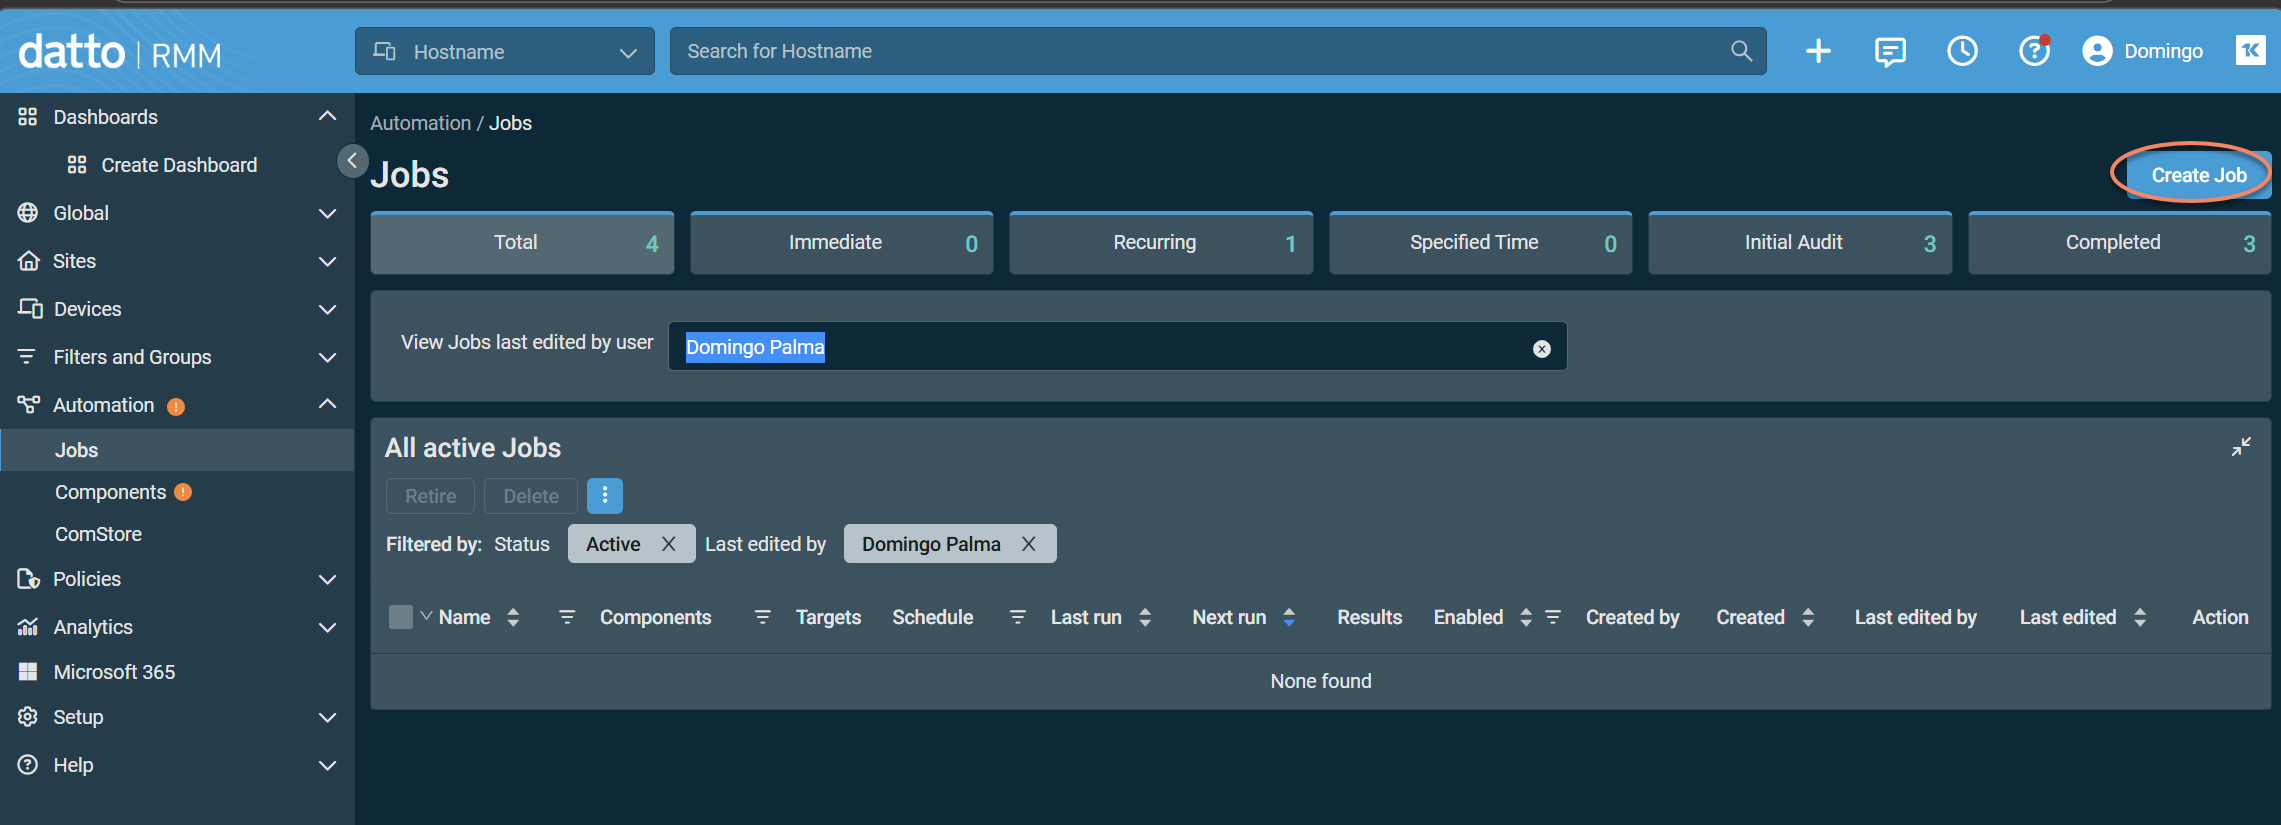
Go to Automation > Jobs.
-
Select Create Job.
-
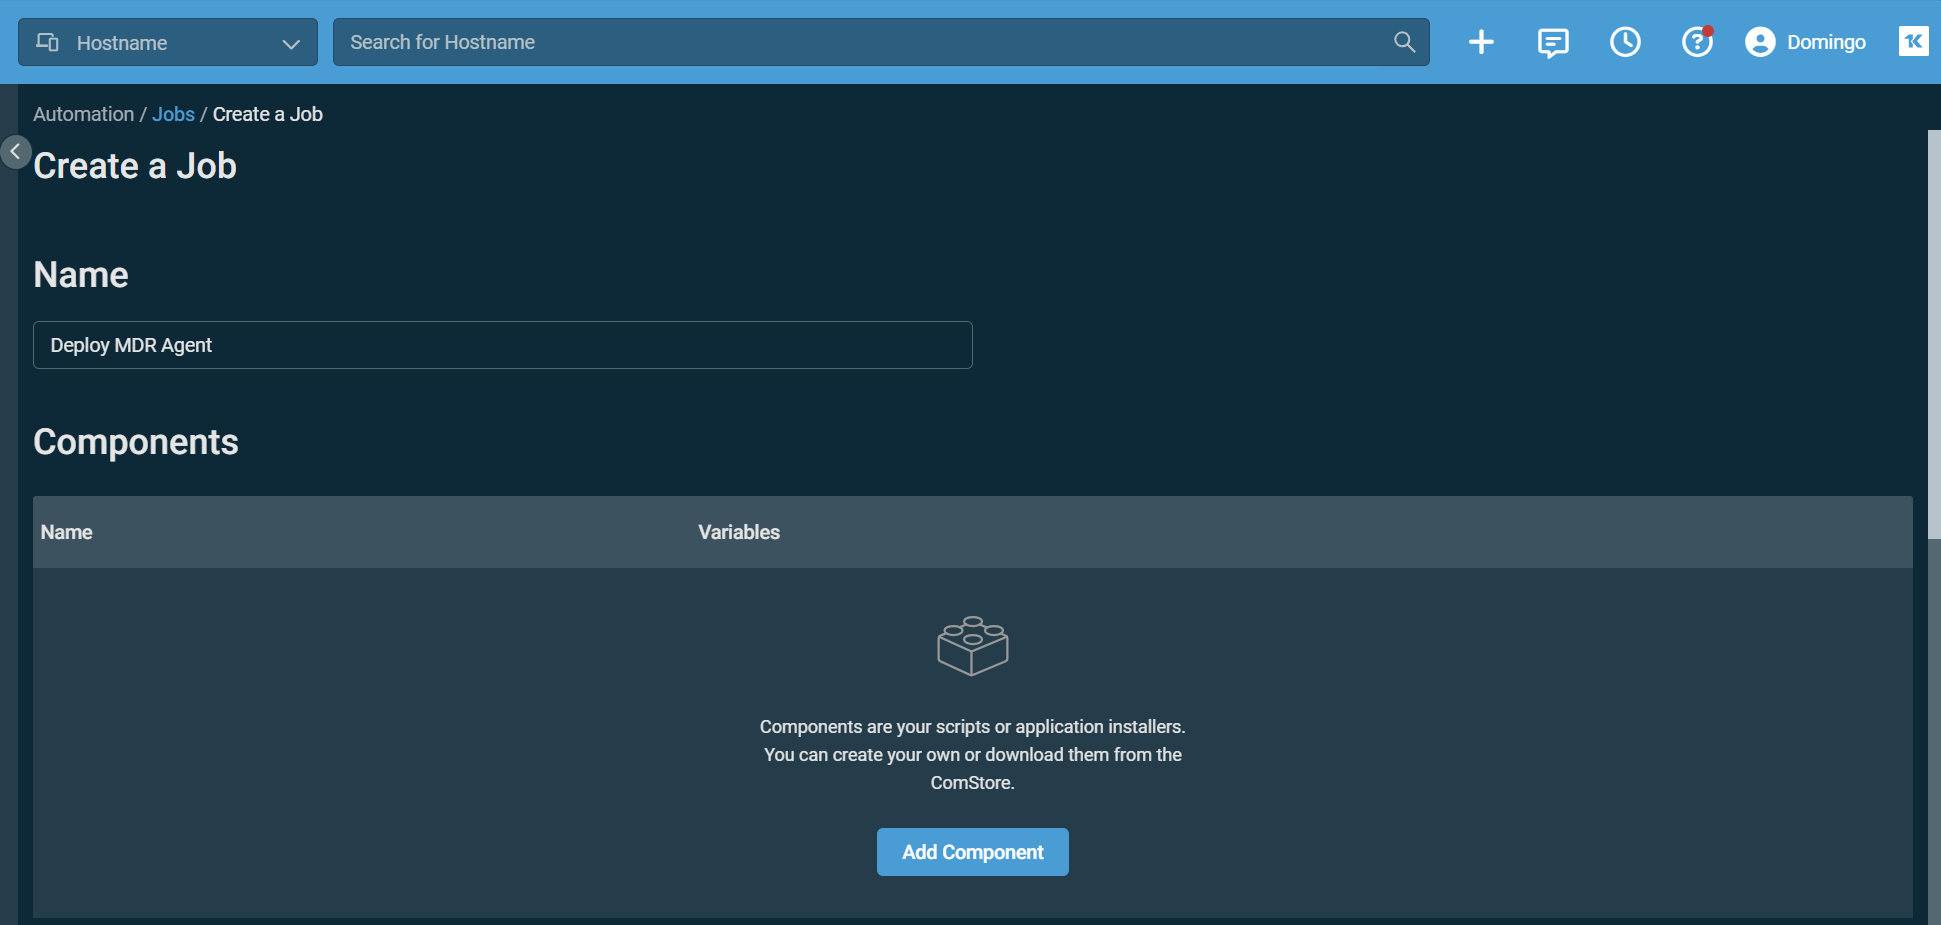
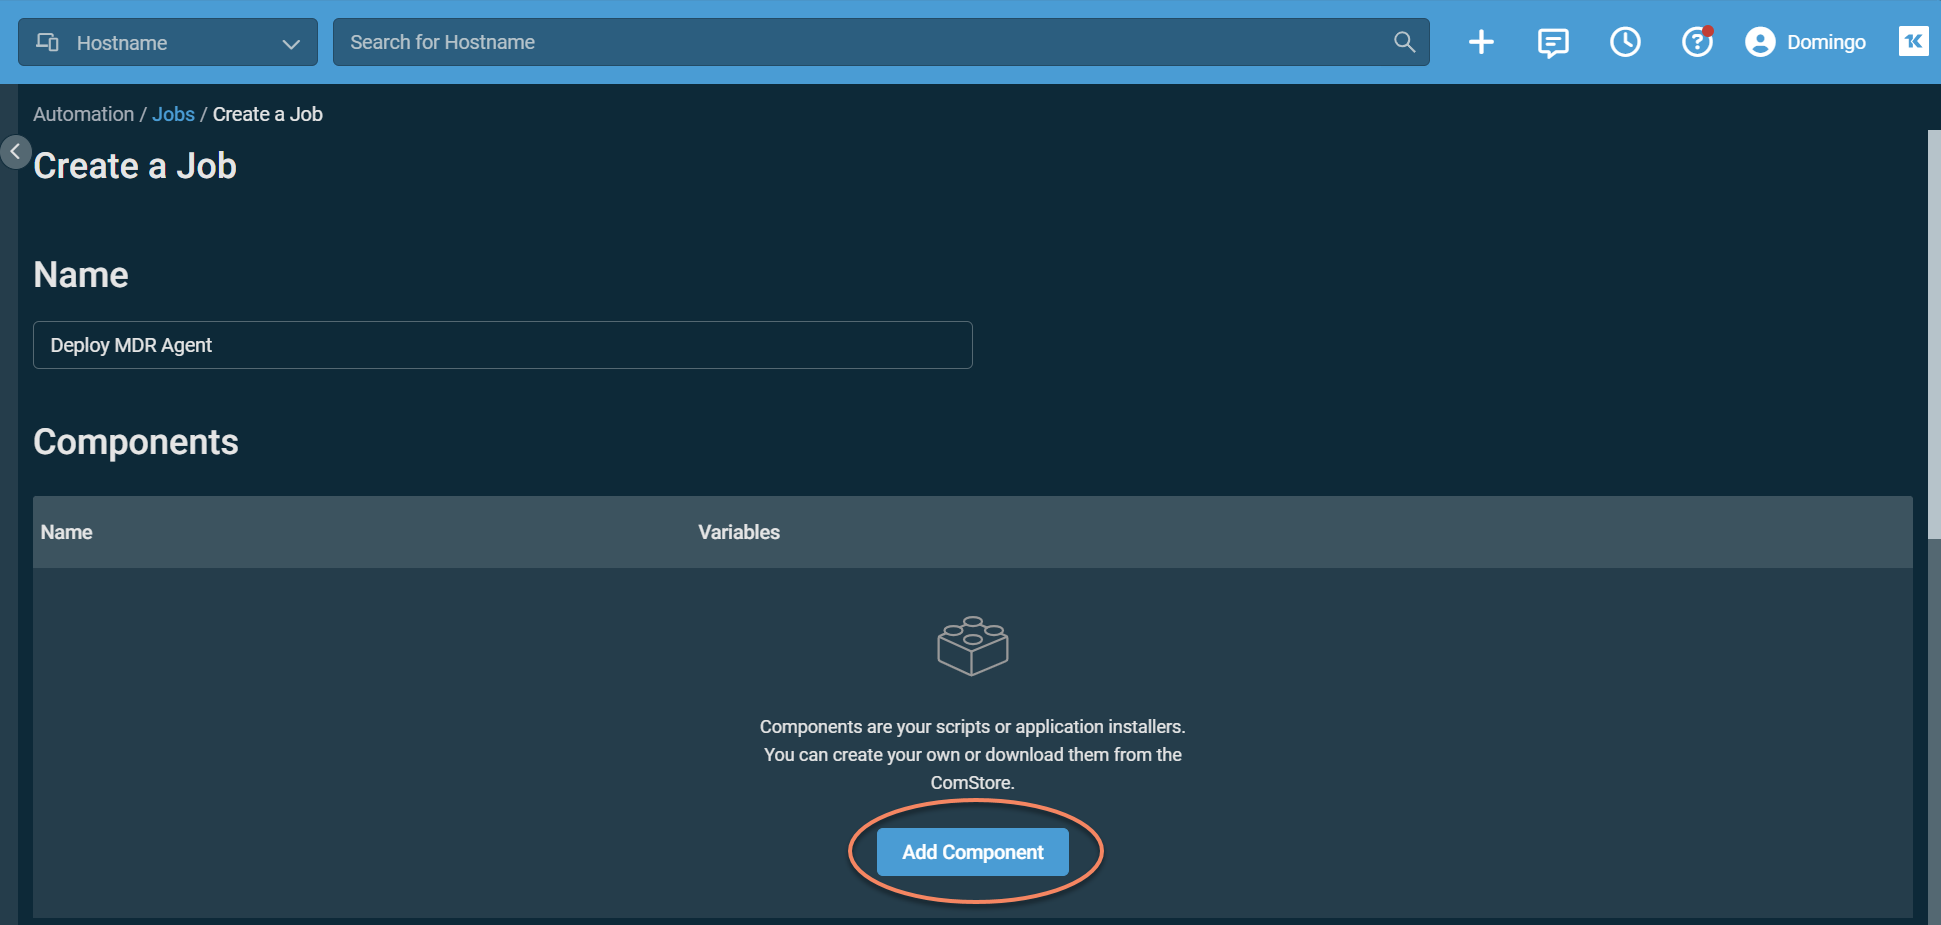
Enter a job name (for example, Deploy MDR Agent).
-
Click Add Component to add the PowerShell component you created.
-
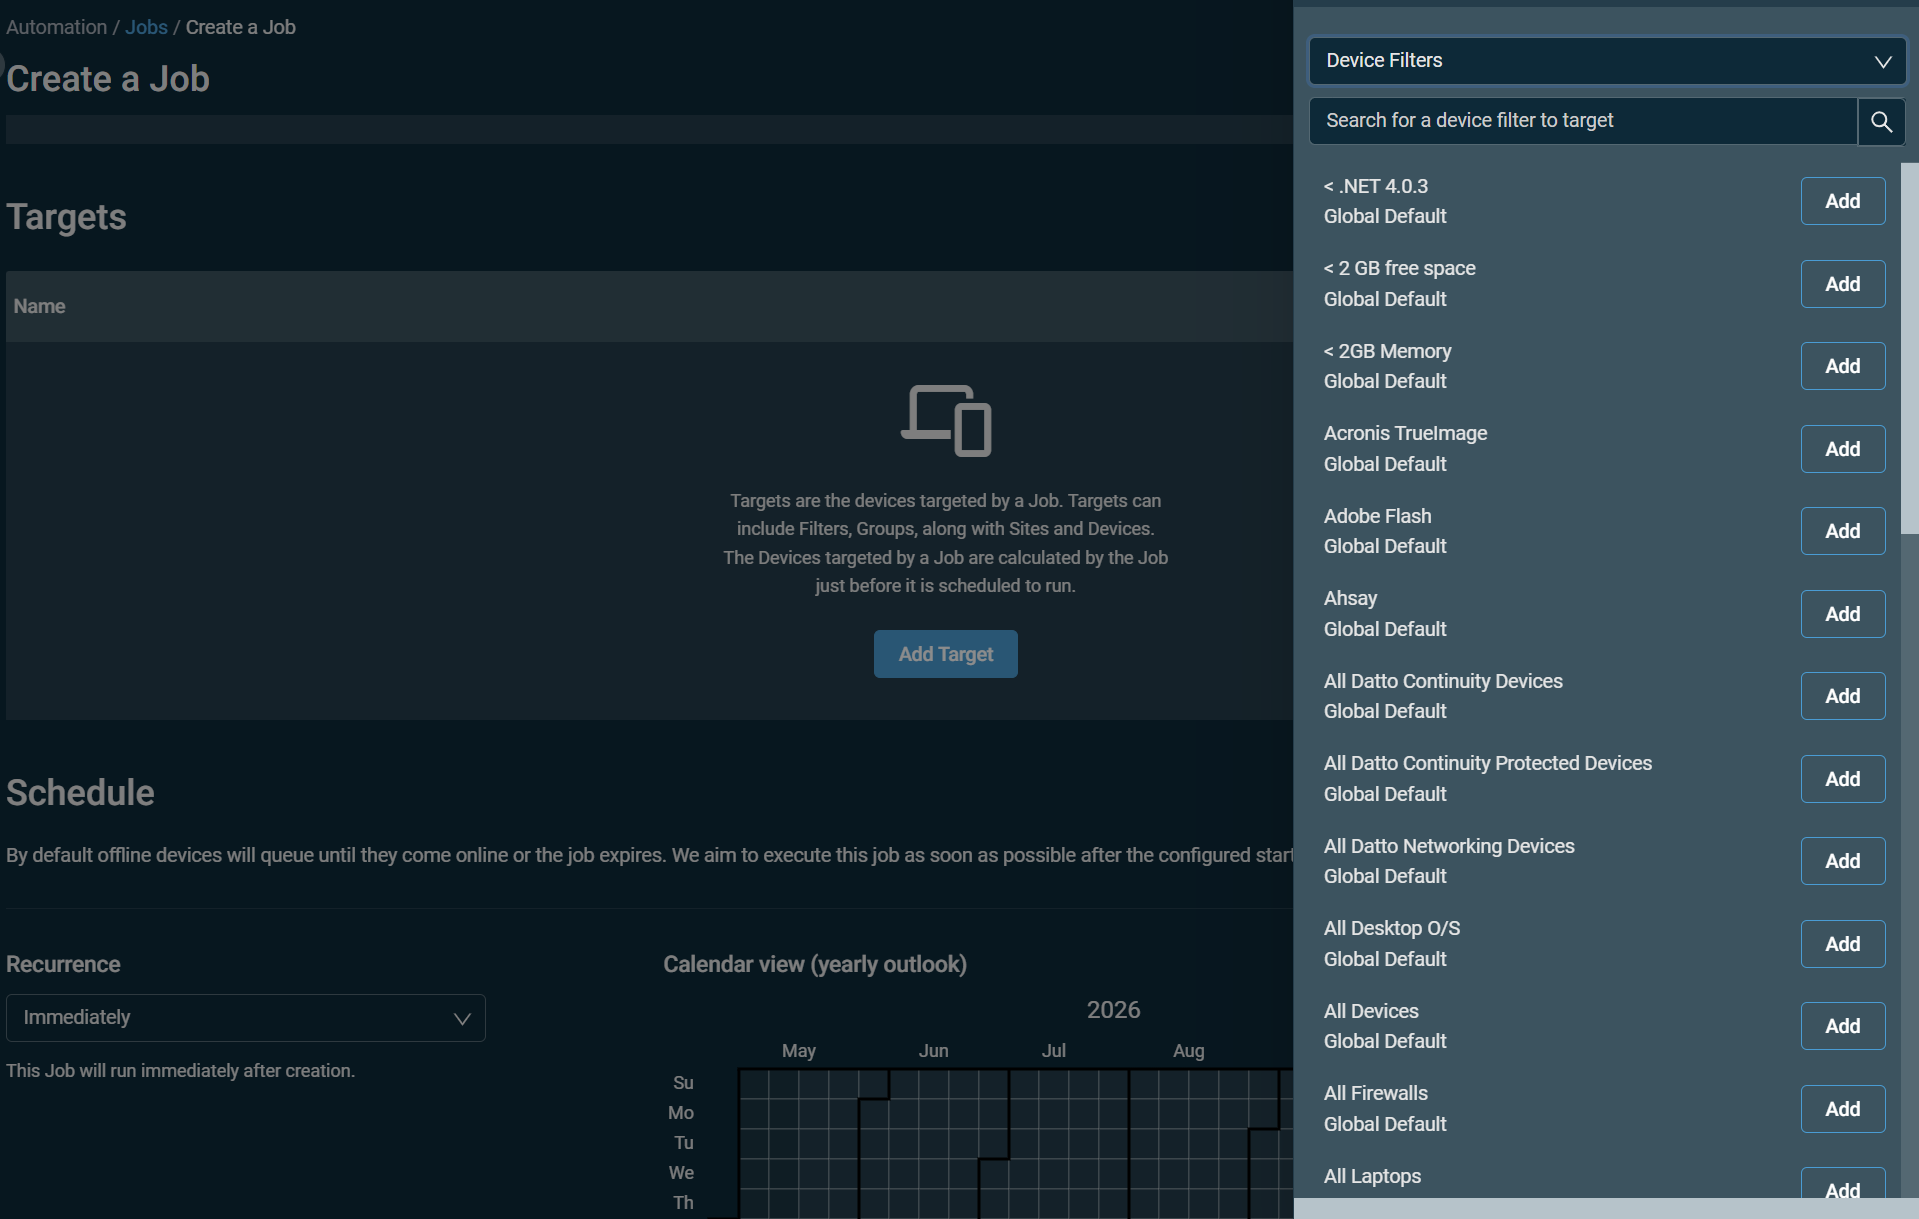
In the Targets section, select target endpoints (sites, device groups, or filters) where the agent should be installed. Target only endpoints that do not already have an agent installed.
-
Review the job configuration. Select Create Job and confirm execution.
Verifying the agent in Kaseya MDR
After deployment:
-
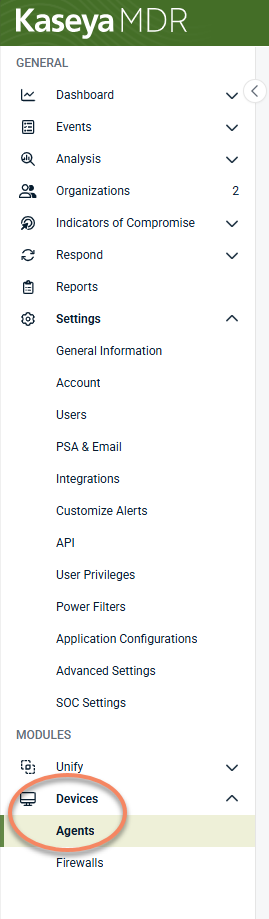
In Kaseya MDR, go to Devices > Agents
-
Confirm that the endpoint appears and shows a reporting status.
-
Allow several minutes for the first agent check‑in.
If the agent appears in the inventory, deployment was successful.
Agent deployment enables endpoint visibility and allows the endpoint to send telemetry to Kaseya MDR.
It does not integrate Datto RMM with Kaseya MDR or configure alerting, detection, response actions, or SOC workflows.
Additional configuration may be required to integrate Datto RMM data with Kaseya MDR. For details, refer to Integrating Datto RMM with Kaseya MDR.


